Installation
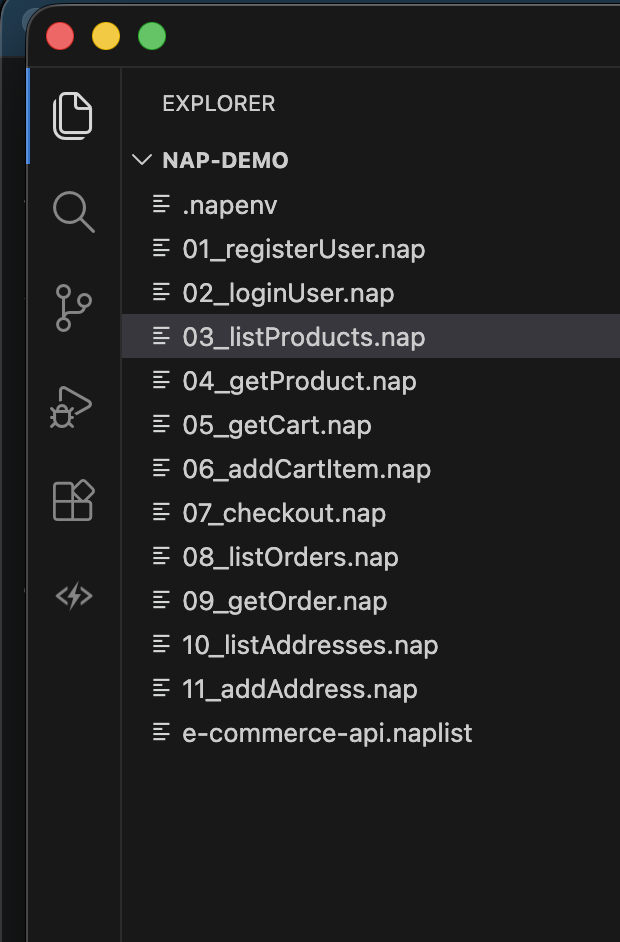
Napper has two parts: the CLI binary and an editor integration. The CLI is a self-contained native binary (not a .NET DLL) with no runtime dependencies — it ships the language server inside it too. The editor integration shells out to the CLI, so you need both for the full experience. There are native extensions for VS Code and Zed; the VS Code extension also installs in every VS Code-compatible editor — Cursor, Windsurf, Antigravity, and VSCodium — via the Open VSX Registry. Any other LSP-capable editor can connect to the bundled language server.
VS Code Extension
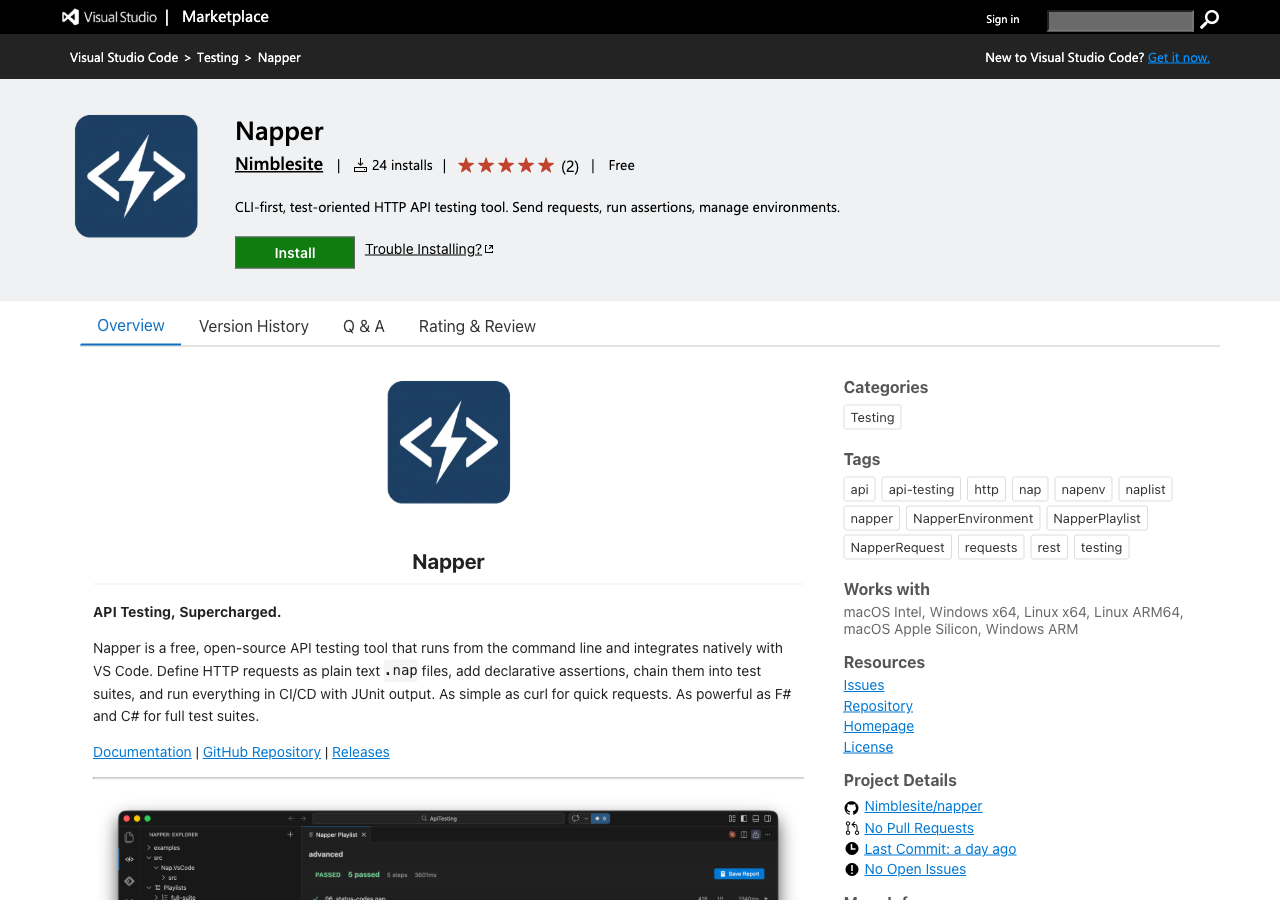
Install from the Marketplace
The easiest way to get Napper in VS Code is from the marketplace:
Option 1 — Marketplace UI:
- Open VS Code
- Click the Extensions icon in the Activity Bar (or press
Ctrl+Shift+X/Cmd+Shift+X) - Search for Napper
- Click Install on the result published by Nimblesite
Option 2 — Command line:
code --install-extension nimblesite.napperOption 3 — Quick Open:
Press Ctrl+P / Cmd+P and run:
ext install nimblesite.napper
Install a VSIX manually
If you need a specific version or are working in an air-gapped environment, download the .vsix file from GitHub Releases and install it manually.
Via the VS Code UI:
- Download
napper-<version>.vsixfrom the Releases page - Open the Extensions panel (
Ctrl+Shift+X/Cmd+Shift+X) - Click the
...menu (top-right of the panel) - Select Install from VSIX...
- Browse to the downloaded
.vsixfile and click Install
Via the command line:
code --install-extension napper-0.10.0.vsixVS Code forks — Cursor, Windsurf, Antigravity, VSCodium
Napper is published to the Open VSX Registry, which is the extension source these editors use by default. Open the Extensions panel in your editor, search for Napper, and click Install — or download the .vsix from GitHub Releases and use Install from VSIX.... Each per-platform .vsix bundles the matching CLI binary, so the extension works out of the box.
Zed
Install the Napper extension from Zed's extension registry (open the command palette and run zed: extensions, then search Napper). The Zed extension launches the bundled language server through the CLI, so install the CLI too.
What the extension provides
Once installed, Napper adds:
- Syntax highlighting for
.nap,.naplist, and.napenvfiles - Napper panel in the Activity Bar with a request and playlist explorer
- Test Explorer integration — run and inspect results without leaving VS Code
- Environment switcher in the status bar
- CodeLens actions — click Run or Copy as curl above any request
- OpenAPI import — generate test files from any OpenAPI/Swagger spec
- AI enrichment — optional GitHub Copilot integration for smarter assertions
CLI Binary
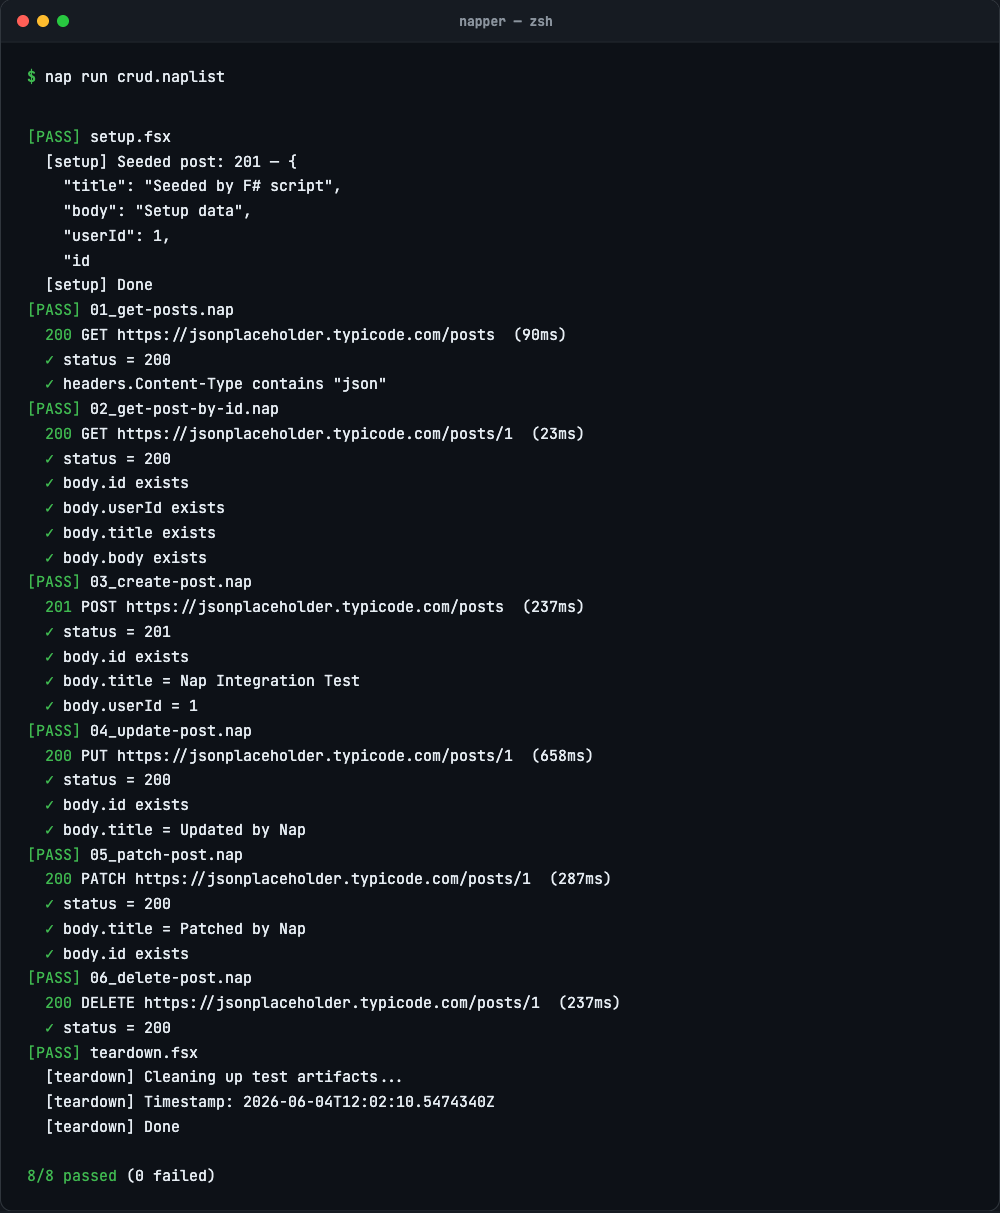
The CLI is a self-contained binary with no runtime dependencies — no .NET, no Node, no Python required. The recommended way to install it is with Homebrew (macOS / Linux) or Scoop (Windows).
Homebrew (macOS / Linux)
brew tap Nimblesite/tap
brew install napper
Update to the latest release at any time with brew upgrade napper.
Scoop (Windows)
scoop bucket add Nimblesite https://github.com/Nimblesite/scoop-bucket
scoop install napper
Update to the latest release at any time with scoop update napper.
Download from GitHub Releases
Download the binary for your platform from GitHub Releases. The current release is v0.10.0.
| Platform | Binary |
|---|---|
| macOS (Apple Silicon) | napper-osx-arm64 |
| macOS (Intel) | napper-osx-x64 |
| Linux (x64) | napper-linux-x64 |
| Windows (x64) | napper-win-x64.exe |
macOS / Linux — make it executable and move to PATH:
# Example for macOS Apple Silicon
chmod +x napper-osx-arm64
mv napper-osx-arm64 /usr/local/bin/napper
Windows — add to PATH:
Move napper-win-x64.exe to a folder on your PATH, or rename it to napper.exe and add its directory to your system PATH via System Properties → Environment Variables.
Install script (macOS / Linux)
The install script auto-detects your platform and verifies the SHA256 checksum:
curl -fsSL https://raw.githubusercontent.com/Nimblesite/napper/main/scripts/install.sh | bashInstall a specific version:
curl -fsSL https://raw.githubusercontent.com/Nimblesite/napper/main/scripts/install.sh | bash -s 0.10.0Install script (Windows)
irm https://raw.githubusercontent.com/Nimblesite/napper/main/scripts/install.ps1 | iexInstall a specific version:
.\scripts\install.ps1 -Version 0.10.0Build from source
If you have the .NET SDK and make installed, you can build from source:
git clone https://github.com/Nimblesite/napper.git
cd napper
make install-binaries
This builds a self-contained, trimmed, single-file binary for your platform and installs it to ~/.local/bin/napper.
Verify the installation
napper --version
napper --help
You should see the version number and the list of available commands.
Prerequisites
| Scenario | Requirement |
|---|---|
Running .nap / .naplist files |
None — the CLI is a self-contained native binary, not a .NET DLL |
| VS Code extension | VS Code 1.99.0 or later |
| VS Code forks (Cursor, Windsurf, Antigravity, VSCodium) | Latest version — installs via Open VSX |
| Zed extension | Zed (latest) |
JavaScript script hooks (.js) |
Node.js 18+ |
Python script hooks (.py) |
Python 3.9+ |
F# script hooks (.fsx) |
.NET 10 SDK |
C# script hooks (.csx) |
.NET 10 SDK |
| Building from source | .NET 10 SDK + make |
You only need a script runtime for the language you actually script in — a JavaScript shop never installs .NET, and a .NET shop never installs Node. No account is required. Napper is entirely open source and free.
First-time setup
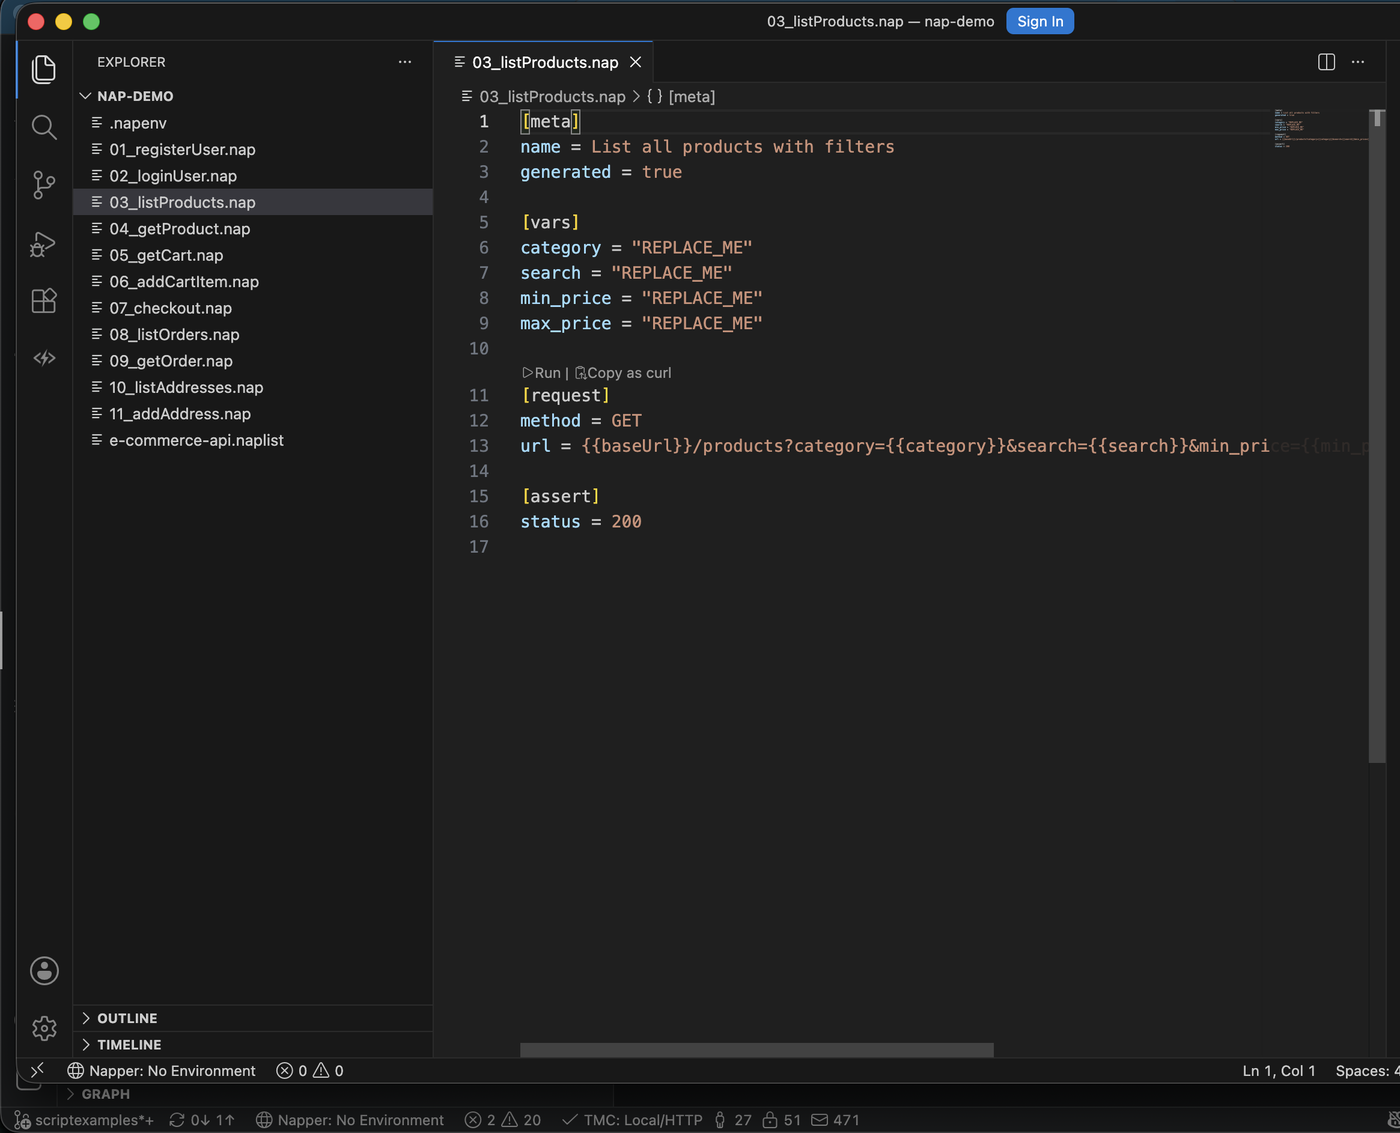
After installing both components:
1. Verify the CLI is on your PATH
Open a terminal and run:
napper --versionIf VS Code cannot find the CLI, set the path explicitly in VS Code settings:
{
  "napper.cliPath": "/usr/local/bin/napper"
}
2. Open a folder with .nap files
The Napper panel in the Activity Bar will automatically discover all .nap and .naplist files in your workspace. If you do not have any yet, create a simple one:
GET https://jsonplaceholder.typicode.com/posts/1
Save it as hello.nap.
3. Run your first request
- From VS Code: Click the Run CodeLens link above the request line, or click the play button in the Napper Explorer panel.
- From the CLI:
napper run ./hello.nap
4. Set up environments (optional)
Create a .napenv file in your project root with shared variables:
baseUrl = https://api.example.com
Create a .napenv.local file (add to .gitignore) for secrets:
token = your-secret-token
apiKey = your-api-key
Switch environments from the VS Code status bar or with --env on the CLI.
Troubleshooting
VS Code says it cannot find the napper CLI
Make sure the CLI binary is on your system PATH. Test by opening a terminal inside VS Code (Ctrl+`` ) and running napper --version. If it works there but not in the extension, set napper.cliPath explicitly in your VS Code settings.
chmod +x is required on macOS / Linux
After downloading the binary, you must make it executable before running it:
chmod +x napper-osx-arm64macOS Gatekeeper warning
On macOS, you may see a warning that the binary is from an unidentified developer. Right-click the binary and choose Open, or run:
xattr -dr com.apple.quarantine /usr/local/bin/napperScript hooks fail with "runtime not found"
Script hooks need the runtime for the language they are written in — and only that one. JavaScript (.js) needs Node.js 18+, Python (.py) needs Python 3.9+, and F# (.fsx) / C# (.csx) need the .NET 10 SDK. Napper invokes each runtime by its command name (node, python3, dotnet fsi, dotnet script) from your system PATH — make sure the right one is installed and on PATH. Plain .nap and .naplist files need no runtime at all. In JavaScript and Python the ctx object is injected automatically — there is nothing to import and no npm install or pip install.
Next steps
- Follow the Quick Start guide to create your first request and test suite
- Learn the .nap file format
- Import an existing API spec with OpenAPI import
- Set up environments for local, staging, and production